Quick answers
- How big should my first garden be?
- Start with one bed about 1.2 m wide and 2.4 m long (4 × 8 ft), or four to six large containers. Small, tended gardens beat large neglected ones.
- How much sun does a vegetable garden need?
- At least six hours of direct sun daily. Leafy greens and herbs tolerate four hours; fruiting crops like tomatoes want eight or more.
- What are the easiest vegetables for beginners?
- Lettuce, radishes, bush beans, courgettes (zucchini), cherry tomatoes, spring onions and herbs such as basil, parsley and mint.
- Should I use raised beds or the ground?
- Raised beds warm earlier, drain better and are easier to manage. If your soil is good and you have time, in-ground beds are cheaper. Either works.
Key takeaways
- Start small: one 1.2 × 2.4 m bed or six pots is plenty for a first season.
- Choose the sunniest spot you have, near a water tap and near your door.
- Make beds narrow enough to reach across, so you never walk on the soil.
- Plant easy crops and a few flowers. Quick wins keep motivation high.
- Feed the soil with compost before you plant; healthy soil prevents many problems.
- Keep a simple journal. What you learn in year one shapes year two.
Table of contents10 sections
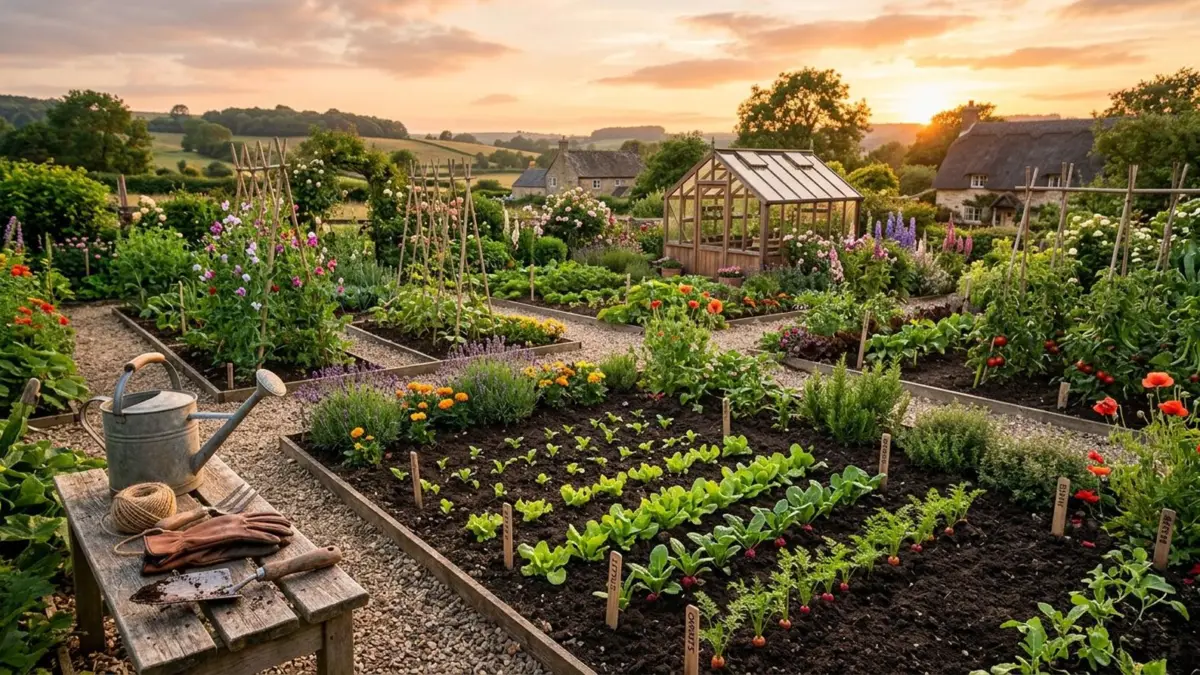
The best first garden is the one you will actually look after. Too many beginners dig an enormous plot in a burst of enthusiasm, plant forty varieties in one weekend and are overwhelmed by midsummer. A modest, well-placed bed with a short list of reliable plants builds confidence, delivers harvests quickly and teaches you the skills in this pillar in a controlled setting.
This guide brings those skills together into a practical plan: where to put the garden, how big to make it, what to plant, how to lay it out and what to do each month. It is the final step of the Plant Growing Fundamentals pillar, and it connects to design topics in Garden Design and food growing in Vegetables & Herbs.
Step 1: choose the site
Spend a day watching your outdoor space. Note where sun falls in the morning, noon and late afternoon. A good site has:
- Sun: six to eight hours of direct light. More sun means more food and flowers.
- Water: a tap or water butt within hose reach. Carrying cans over long distances kills enthusiasm.
- Shelter: protection from strong, drying winds.
- Drainage: no puddles after rain. If water lingers, use raised beds.
- Convenience: near the house, so you see the garden daily and notice problems early.
No ground at all? A sunny balcony, patio or doorstep can host a perfectly productive container garden. Choose pots as described in Choosing Pots and Potting Mix.
Step 2: size and shape the bed
A bed up to 1.2 m (4 ft) wide lets you reach the middle from either side without stepping on the soil. Stepping on soil compacts it and damages roots. Length can be as you like; 2.4 m (8 ft) is a good starting size. Leave paths about 45–60 cm wide between beds so you can kneel and use a wheelbarrow.
| Garden style | Size | Best for |
|---|---|---|
| Container garden | 4–8 pots, 20–40 L each | Balconies, patios, renters |
| One raised bed | 1.2 × 2.4 m, 30 cm deep | Most beginners |
| In-ground bed | 1.2 × 3 m | Good soil, tight budgets |
| Starter plot | 3 × 3 m with paths | Families, keen beginners |
Step 3: prepare the soil
- Clear the area. Remove grass and weeds by lifting turf or smothering with cardboard for a few weeks.
- Loosen the soil. Fork it to the depth of the tines, breaking up compacted layers without turning everything over.
- Add compost. Spread 5–8 cm of well-rotted compost over the surface and lightly fork it in.
- Rake level. Create a fine, even surface for sowing.
- Mulch pathways. Wood chips or straw keep weeds down and mud away.
For raised beds, fill with a blend of roughly 60% topsoil, 30% compost and 10% coarse sand or perlite. Detailed guidance on improving soil is in the Soil, Water & Fertilizer pillar.
Step 4: choose forgiving plants
| Plant | Why it suits beginners | Sow or plant | Harvest |
|---|---|---|---|
| Radish | Ready in 4 weeks; teaches sowing and thinning | Direct, cool season | 3–5 weeks |
| Lettuce (loose-leaf) | Cut and come again; tolerates partial shade | Direct or transplant | 4–8 weeks |
| Bush beans | Fast, productive, fix nitrogen | Direct, after frost | 7–9 weeks |
| Courgette (zucchini) | One plant feeds a family | Transplant after frost | 7–9 weeks |
| Cherry tomatoes | Reliable and delicious | Transplant after frost | 10–12 weeks |
| Herbs (basil, parsley, chives, mint) | Compact, constant use; mint belongs in a pot | Transplant or seed | 4–8 weeks |
| Marigolds, nasturtiums, zinnias | Colourful, edible or cut flowers; attract pollinators | Direct or transplant | 6–10 weeks |
Add flowers to every bed. They bring bees and hoverflies that pollinate crops and eat aphids, and they make the garden a place you want to be. More ideas are in Flower Gardening.
Step 5: a simple layout
For a 1.2 × 2.4 m bed, picture four 60 cm sections running along its length:
- North end (back): tall plants such as tomatoes on stakes or a trellis, so they do not shade neighbours.
- Middle: medium plants such as bush beans, courgette, peppers.
- South end (front): low plants such as lettuce, radishes, herbs and marigold edging.
Plant slow crops (tomatoes) alongside fast ones (radish, lettuce). The fast crops are harvested before the slow ones need the space. Follow spacing on packets and the advice in transplanting seedlings.
Step 6: a first-year schedule
| When | Task |
|---|---|
| 6–8 weeks before last frost | Sow tomatoes and peppers indoors (see sowing) |
| 2–4 weeks before last frost | Prepare the bed; sow radishes, lettuce and peas outdoors |
| Around last frost | Harden off tender seedlings |
| 1–2 weeks after last frost | Plant tomatoes, courgettes, basil; sow beans and marigolds |
| Early summer | Mulch; start regular deep watering (see watering) |
| Midsummer | Sow second crops of lettuce and beans; harvest daily |
| Autumn | Clear spent plants; sow cool-season crops; add compost |
| Winter | Review your journal; order seed; plan next year |
Calculate your own dates using the seasonal planting calendar.
Step 7: care routine
- Weekly: check soil moisture, pull small weeds, look under leaves for pests, harvest regularly.
- Monthly: top up mulch, feed container plants, tie in tall plants.
- Seasonally: add compost, rotate crops, record results.
Learn to interpret problems with plant signals and keep a garden journal: sowing dates, varieties, weather and yields. Even a few lines per week will help.
Mistakes to head off early
- Making the garden too large for your time
- Choosing a shady spot because it was convenient
- Planting everything on the same weekend
- Ignoring spacing, then crowding plants
- Skipping mulch and watering routine
- Giving up after the first failure; every gardener loses plants
Shortcuts worth knowing
- Plant what you love to eat. A garden full of unwanted vegetables is discouraging.
- Sketch the plan on paper before digging. Moving a drawing is easier than moving a bed.
- Add a compost bin or pile nearby; free fertiliser from kitchen scraps pays back quickly.
- Invite someone to garden with you. Shared effort and shared harvests keep habits going.
You are ready
You now have everything this pillar teaches: how to sow, move, water, pot, propagate, time, read and plan. The next step is to begin. Put in a first bed this season, write down what happens and return to Plant Growing Fundamentals whenever you need a refresher. When you are ready to expand, explore Tree & Shrub Care and Garden Design for the structure of a mature garden.
More in Plant Growing Guides
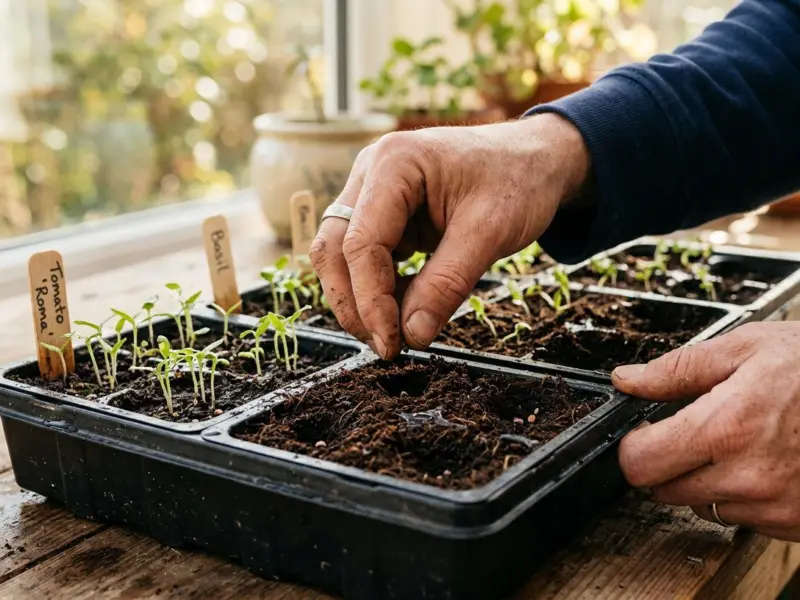
How to Plant Seeds Step by Step (Complete Beginner Guide)
Learn exact seed-sowing depth, spacing, timing and aftercare so more of your seeds actually grow, a foolproof step-by-step method for beginners.
How to Transplant Seedlings Without Killing Them
Harden off, timing, root handling and aftercare, everything you need to move seedlings from tray to garden with zero transplant shock.
Watering Plants the Right Way: How, When and How Much
Deep-and-rare beats little-and-often. Learn to read your plants, check soil moisture properly, and build a watering rhythm that prevents 90% of garden problems.